Bake Perfect Gluten-Free Honey Oat Bread: Your Guide to a Richer Loaf
For those navigating the world of gluten-free baking, discovering a bread that truly satisfies can feel like finding a hidden gem. While many gluten-free sandwich breads offer a serviceable alternative, there’s a distinct craving for a loaf with a deeper, more robust flavor profile – something akin to the hearty notes found in traditional whole wheat bread. Enter honey and oat gluten free bread: a wholesome, naturally sweetened masterpiece that delivers on texture, taste, and versatility. This isn't just another gluten-free bread; it’s a revelation for your taste buds, transforming simple sandwiches and toast into gourmet experiences.
Originally, many gluten-free bread recipes aimed for a lighter, more traditional white bread flavor. However, bakers soon realized the potential for more. By incorporating ingredients like oat flour and the natural sweetness of honey, it's possible to craft a loaf that boasts a soft, fluffy crumb alongside a rich, satisfying taste. Whether you're dealing with celiac disease, gluten intolerance, or simply seeking a healthier, homemade alternative, this guide will walk you through everything you need to know to achieve bakery-quality results right in your own kitchen.
The Allure of Honey and Oat Gluten-Free Bread
What makes honey and oat gluten free bread so special? It's a harmonious blend of textures and flavors that elevates it beyond typical gluten-free offerings. The inclusion of oat flour doesn't just make it gluten-free; it imparts a subtle nuttiness and a more substantial mouthfeel, reminiscent of artisan whole grain breads. Honey, on the other hand, provides natural sweetness, a beautiful golden hue, and acts as a humectant, helping to keep the bread moist and extend its shelf life. This combination creates a loaf that is:
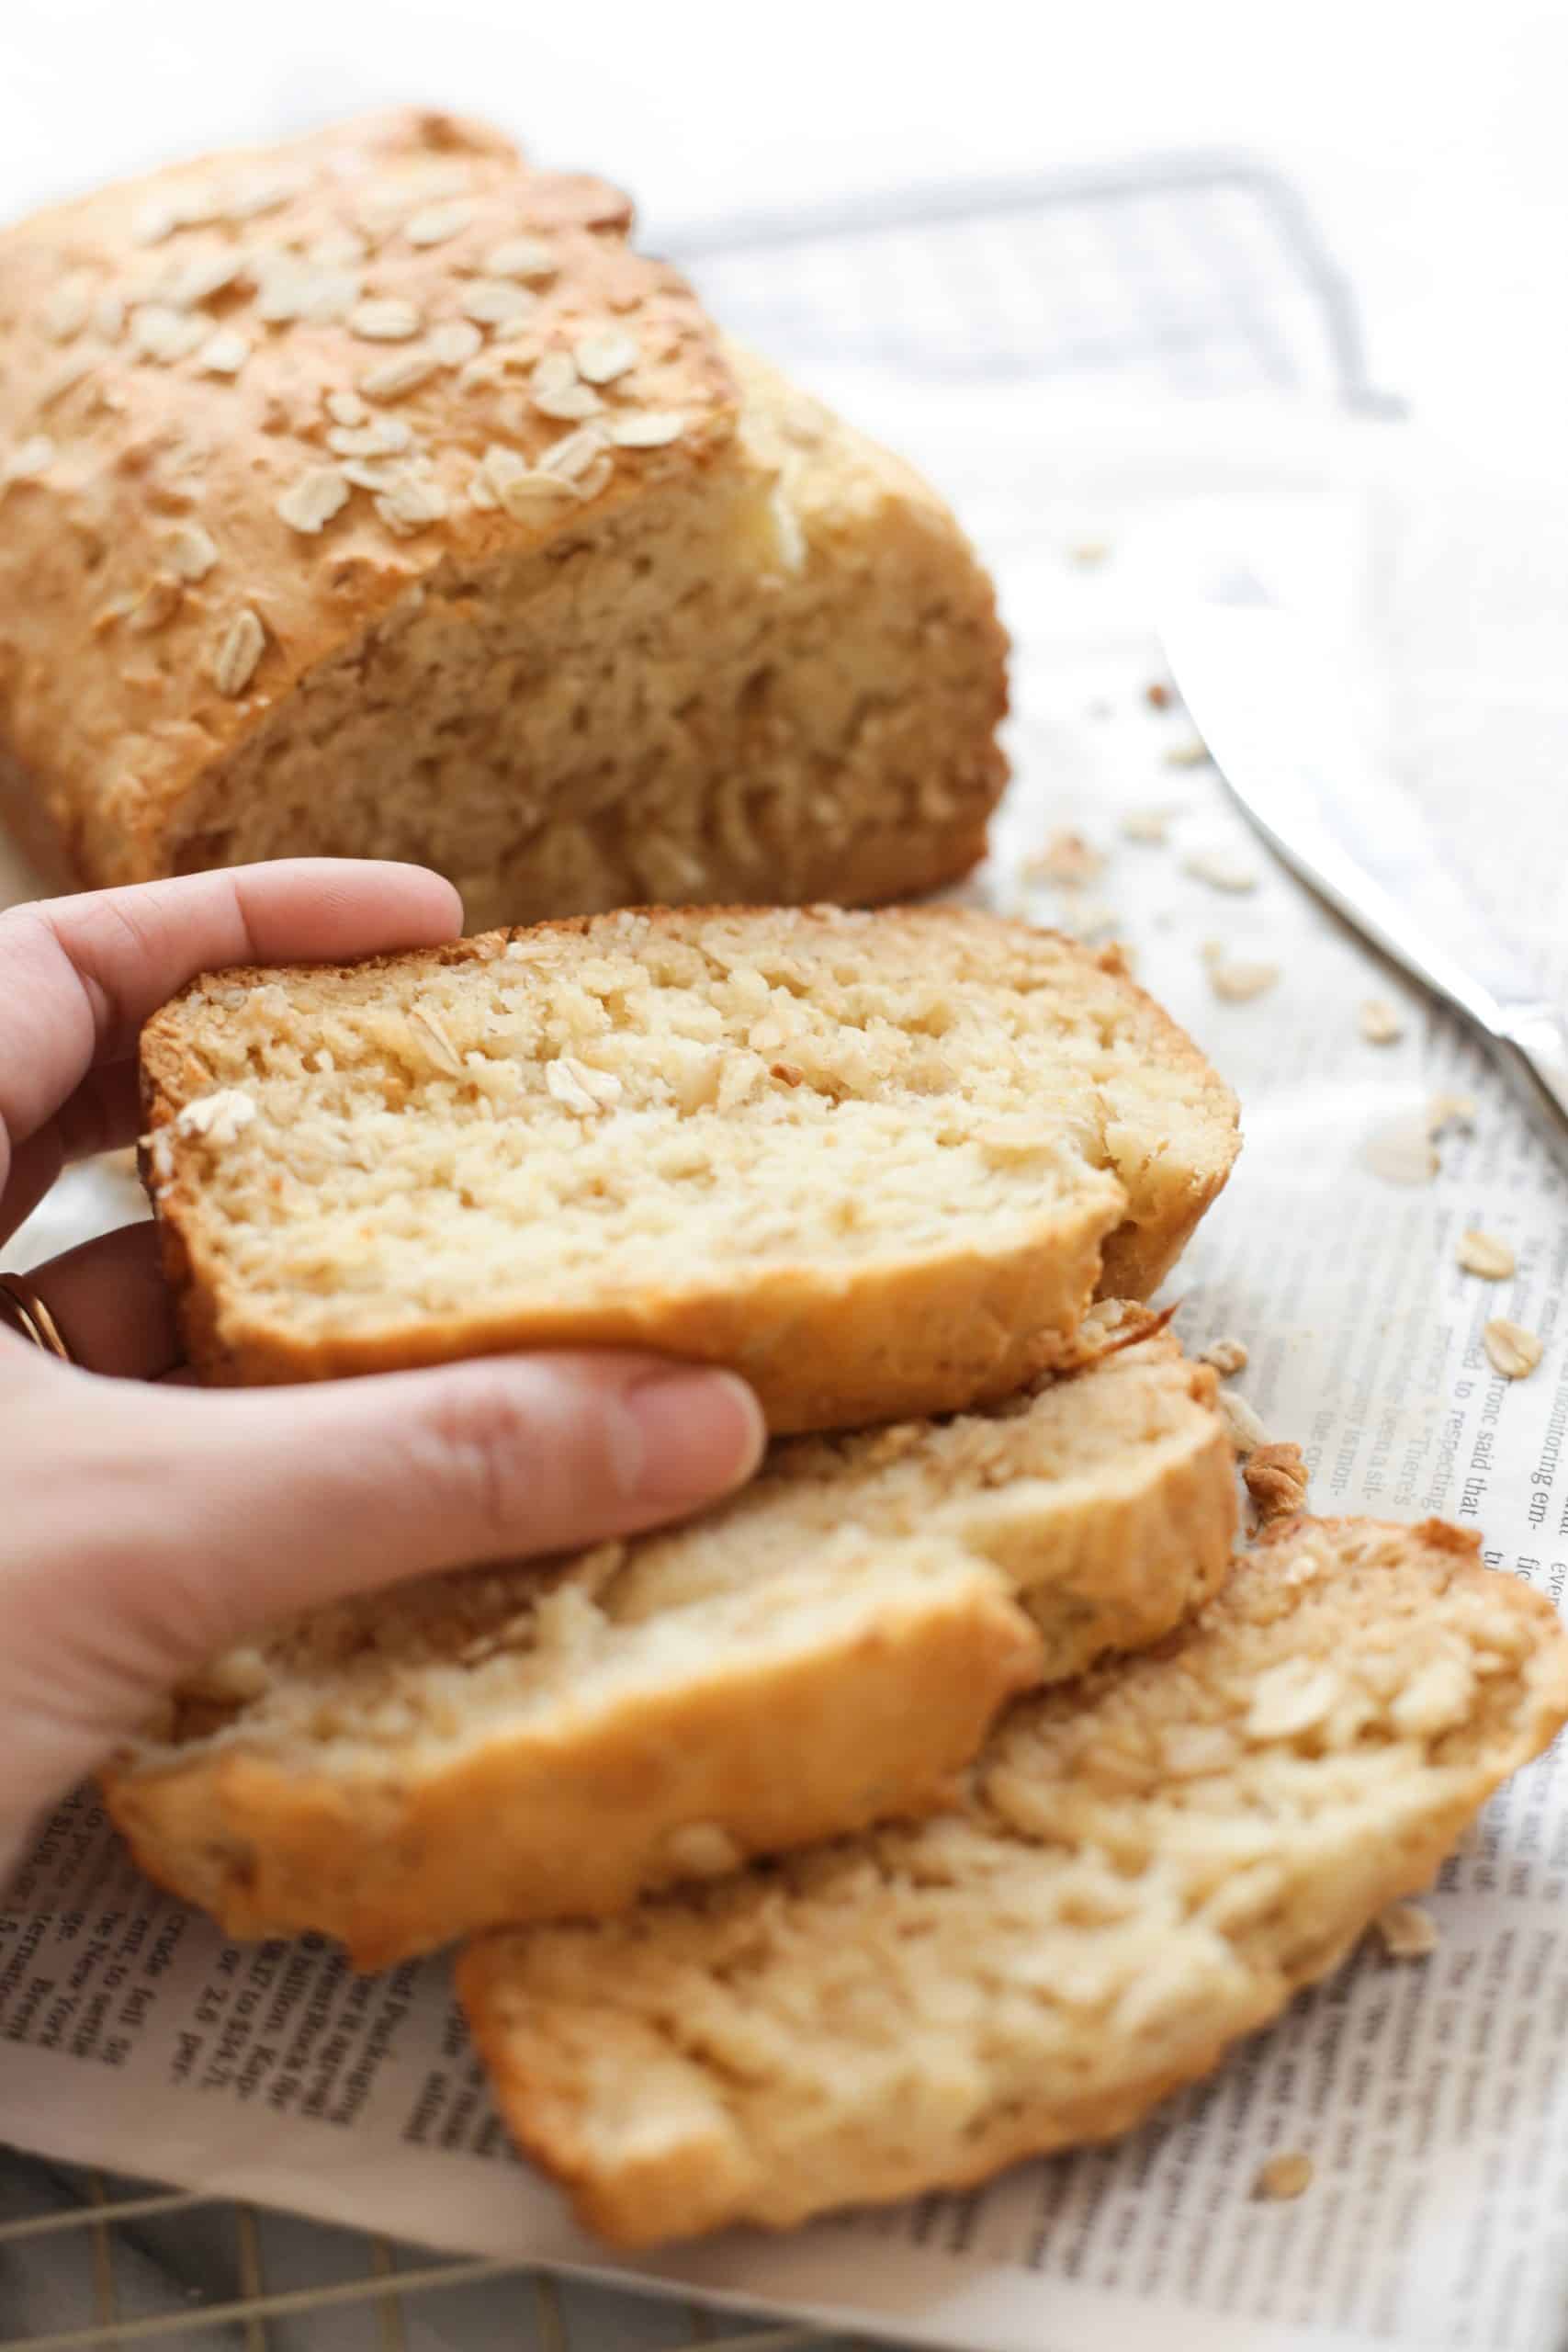
- Rich in Flavor: Moving beyond the subtle taste of lighter gluten-free breads, this version offers a more complex, satisfying flavor.
- Perfectly Textured: Expect a soft, fluffy interior with a slightly chewy crust, ideal for slicing without crumbling.
- Naturally Sweetened: Honey replaces refined sugars, adding both flavor and beneficial properties.
- Incredibly Versatile: From savory sandwiches to sweet toast, it adapts beautifully to any meal or snack.
Many find this easy gluten-free honey oat bread to be a game-changer because it addresses the common complaint of gluten-free breads lacking depth. It’s a hearty, wholesome choice that feels comforting and familiar, yet is entirely safe for those avoiding gluten. The convenience of making it at home, often with no yeast required (depending on the specific recipe), means fresh, delicious bread can be a regular part of your routine.
Essential Ingredients and Why They Matter
Crafting exceptional honey and oat gluten free bread begins with understanding your ingredients. While many gluten-free recipes rely on complex flour blends, the core appeal of this loaf lies in the simplicity and effectiveness of its key components:
- Gluten-Free Oat Flour: This is the star. Make sure to use certified gluten-free oat flour to avoid cross-contamination. Oat flour contributes significantly to the bread's deeper flavor, fiber content, and soft texture. It absorbs moisture differently than wheat flour, so precise measurements are crucial.
- Honey: Beyond its role as a natural sweetener, honey brings moisture, aids in browning, and helps the bread stay fresh longer. Its distinct flavor pairs wonderfully with oats, creating that desired wholesome taste. Choose a good quality, local honey if possible for the best flavor.
- Gluten-Free Flour Blend: Many recipes will incorporate a general gluten-free all-purpose flour blend alongside oat flour. These blends typically contain a mix of rice flour, potato starch, tapioca starch, and sometimes xanthan gum (which mimics gluten's elasticity). The right blend ensures a balanced structure and prevents a gummy or overly dense texture.
- Eggs: Provide structure, richness, and help bind the ingredients in the absence of gluten.
- Fat (Oil or Butter): Adds tenderness and moisture, contributing to that coveted soft crumb.
- Leavening Agents: Baking powder and/or baking soda (often activated by an acidic ingredient like buttermilk or vinegar) are common in yeast-free recipes, giving the bread its rise and fluffiness.
The quality of your ingredients directly impacts the final product. Investing in fresh, high-quality gluten-free flours and good honey will pay dividends in flavor and texture. Remember that gluten-free flours can dry out more quickly, so proper storage in airtight containers is important.
Mastering the Bake: Tips for Perfect Gluten-Free Honey Oat Bread
Baking, especially with gluten-free ingredients, can sometimes feel like a delicate science. However, with a few expert tips, you can consistently achieve a perfect loaf of honey and oat gluten free bread. The most critical aspect of gluten-free baking is often determining doneness, and for this, an internal thermometer is your best friend.
The Critical Role of Internal Temperature
Unlike traditional wheat-based breads where you might tap the bottom for a hollow sound or rely on visual cues, gluten-free breads can be deceptively tricky. They might look perfectly golden on the outside but still be underbaked and gummy on the inside. This is where an internal thermometer becomes indispensable.
For perfectly baked gluten-free honey oat bread, the internal temperature should consistently register between 190-200°F (88-93°C) when the loaves are done baking. This temperature range indicates that the starches have fully gelatinized and the bread has cooked through, preventing a dense or raw center. Simply insert the thermometer into the center of the loaf, avoiding the sides of the pan.
Oven Variability and Adjusting Baking Times
The reference context highlights a crucial point: oven temperatures vary significantly. While a starting point of 25-30 minutes might be perfect for some ovens and dark baking pans, many bakers find they need to add an additional 10-25 minutes to achieve the correct internal temperature. This isn't an error in the recipe; it's simply the reality of home baking.
- Know Your Oven: If you find your bakes frequently differ from recipe times, consider getting an oven thermometer to check its accuracy.
- Start Checking Early: Begin checking the internal temperature around the 20-minute mark, even if the recipe suggests longer. This helps you gauge how quickly your oven is working.
- Trust the Thermometer: Don't pull the bread out until it hits that 190-200°F mark, even if it looks done on the outside. If the crust is browning too quickly, you can loosely tent the loaf with aluminum foil for the remaining bake time.
- Keep Notes: Once you've perfected the baking time for your oven and pan combination, make a note of it! This will make future baking sessions much more reliable and less stressful.
Achieving That Desired Soft, Fluffy Texture
Beyond internal temperature, several factors contribute to the wonderfully soft and fluffy texture of this particular bread:
- Proper Hydration: Gluten-free flours are thirsty. Ensure you follow the liquid measurements precisely. Too little liquid can result in a dry, crumbly loaf, while too much can make it gummy.
- Gentle Mixing: Since there's no gluten to develop, overmixing isn't a concern in the same way as wheat bread. However, ensuring all ingredients are just combined and the batter is smooth is key. Avoid vigorous beating once flours are added to prevent developing toughness.
- Resting Time: Some yeast-free recipes benefit from a short rest after mixing to allow the flours to fully hydrate before baking. This can improve texture.
- Pan Choice: Darker metal pans tend to bake hotter and faster, potentially creating a crisper crust. Lighter pans might require a slightly longer bake.
Remember, baking is a journey of learning your ingredients and your equipment. With persistence and these practical tips, you’ll soon master soft, flavorful gluten-free honey oat sandwich bread.
Serving Suggestions and Beyond the Loaf
Once your perfect loaf of honey and oat gluten free bread has cooled (and patience is key here; slicing too soon can compromise texture), the possibilities are endless. Its robust flavor makes it incredibly versatile:
- Elevated Sandwiches: Its sturdy yet soft structure holds up beautifully to all your favorite sandwich fillings, from classic deli meats and cheeses to gourmet vegetable combinations.
- Divine Toast: Toasted slices provide an exquisite base for sweet and savory toppings. Try it slathered with homemade whipped butter – restaurant-style, whipped strawberry butter, or an irresistible vanilla bean whipped honey butter.
- Sweet Treats: A smear of peach jam, apple butter, or even a simple drizzle of extra honey transforms a slice into a comforting snack or a delightful breakfast.
- Croutons & Stuffing: Leftover slices can be cubed and baked into crunchy gluten-free croutons for salads, or used as the base for a savory holiday stuffing.
To keep your delicious bread fresh, store it in an airtight container at room temperature for a few days, or slice and freeze individual portions for longer storage. This ensures you always have a perfect slice ready to enjoy.
Conclusion
Baking a truly satisfying gluten-free bread doesn't have to be a compromise. With its rich flavor profile from oat flour and the natural sweetness of honey, honey and oat gluten free bread stands out as a superior choice for anyone seeking a wholesome, delicious, and deeply flavored loaf. By paying close attention to quality ingredients, understanding the critical role of internal temperature (aiming for 190-200°F), and being mindful of your oven's unique characteristics, you can consistently achieve soft, fluffy, and perfectly sliceable results. Embrace the journey of discovery in your kitchen, and prepare to enjoy a gluten-free bread experience that you'll want to savor time and time again.
